Home/ Blog Index /Obfuscation
Kalpita Data Obfuscation Tool for Secured Data
Written by Grace Catharine
28 Feb 2024
7 Minute Read
Written by Grace Catharine
28 Feb 2024 7 Minute Read
Introduction
In the modern era, everything has become digitalized and there’s an increase in data risk. Data breaches have become common in this digital world, risking the privacy and security of organizations. Technology evolves, and so do security threats. To safeguard your data from such risks, our team has developed a tool named Data obfuscation. Explore the features, functionalities, and benefits of this tool in detail through this blog.
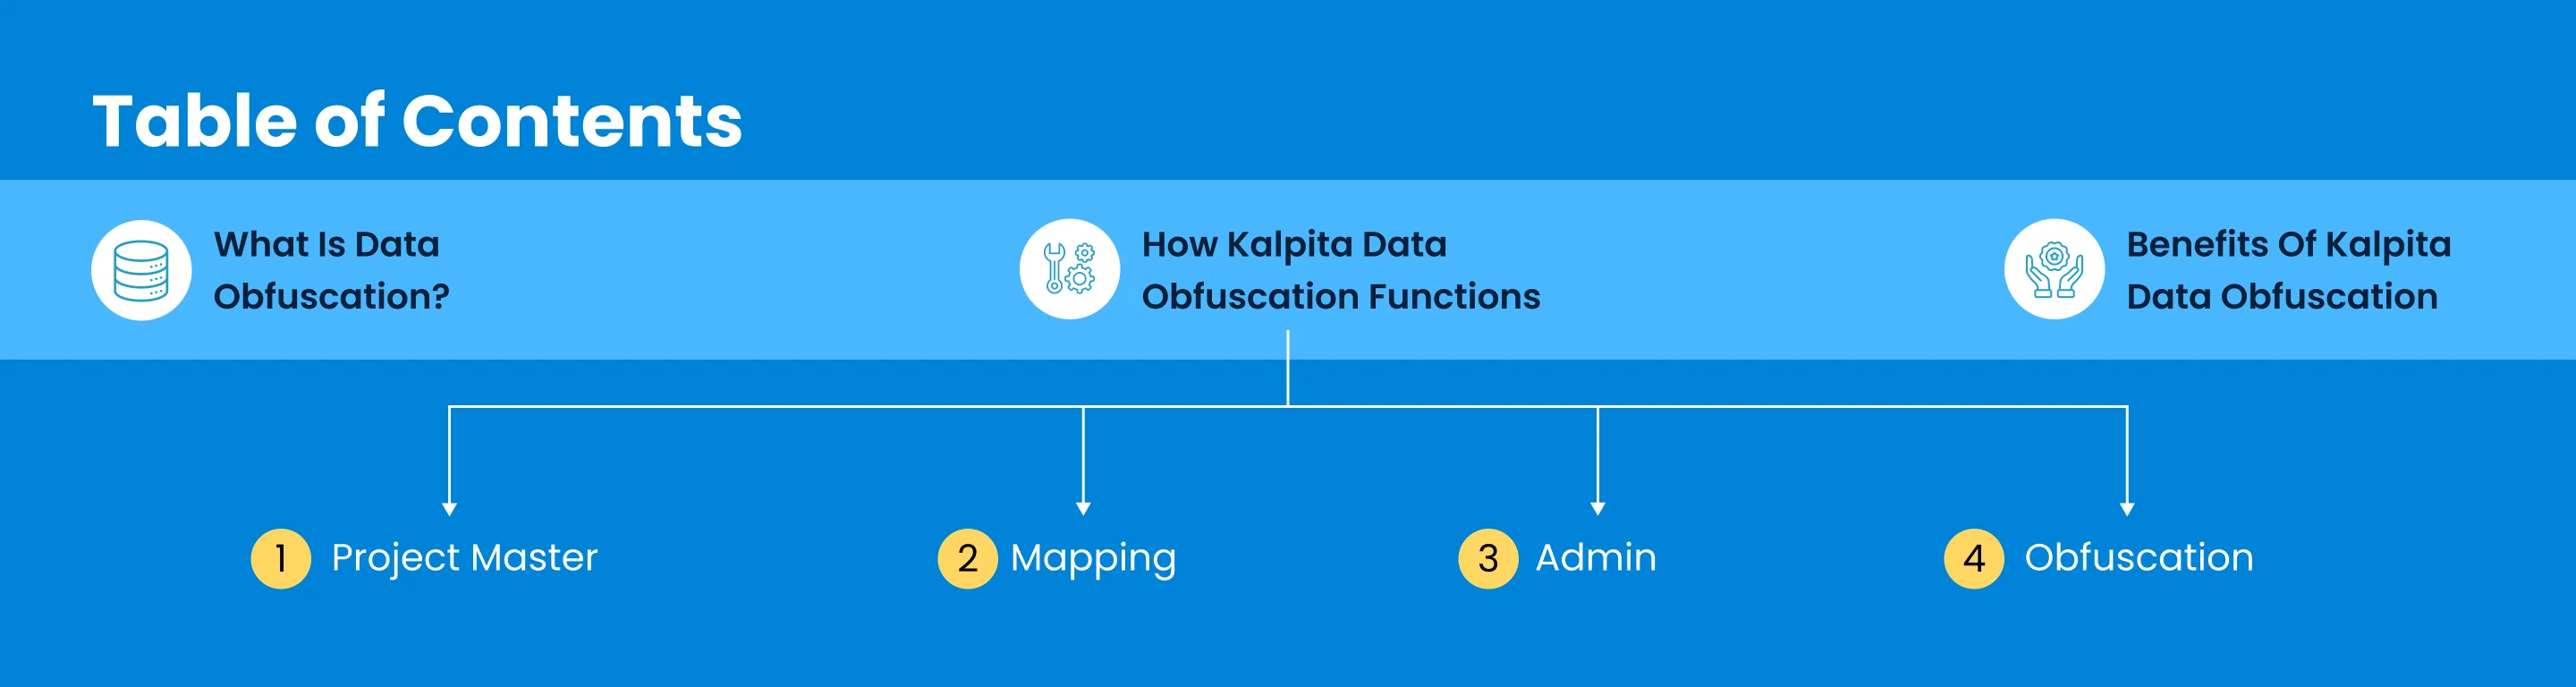
What is Data Obfuscation?
Before we begin, what is data obfuscation? Data obfuscation, also known as data masking, is the process of transforming sensitive or personally identifiable information (PII) into a non-sensitive or anonymous form. The primary objective of data obfuscation is to safeguard data from unauthorized access, thereby reducing the risks related to data breaches, unauthorized disclosures, or privacy violations. The data obfuscation technique masks sensitive information by replacing it with symbols, numbers, or alphabets.
How Kalpita Data Obfuscation Functions
It is significant to protect sensitive data and Kalpita’s Data Obfuscation Tool does it. Let’s walk through the end-to-end process of Kalpita Data Obfuscation through each page.
 Project Master
- First, on the project page, a new project will be set up and a server connection string will be provided for a database connection.
- The new project will have a project name, description, server name, database name, and username.
 Mapping
- The mapping process involves selecting a project and table name, followed by fetching columns from the database to determine their status (New, Existing, or Deleted).
- Users must choose columns and function names for obfuscation, ensuring compatibility with column data types.
- A default search option facilitates a quick selection of common options across tables, and a preview function allows users to review obfuscated data.
- The Certificate function requires adding a specific column to the table, and symmetric key naming is crucial.
- After mapping columns, the user should click the "Map Columns" button, and an Excel sheet can be exported for data verification.
- It is emphasized that proper mapping is essential to avoid data misbehavior.
 Admin
Admin
The admin page consists of two functionalities, Functions and Keywords.
Functions
- On this page, you should select all the functions and deploy them to your database. Having these functions in your database is crucial for the successful obfuscation process.
- Note that creating certificates isn't supported within this application; you must do it manually on your server. However, once you've created a certificate, you can use it within this application. You can't deploy the Certificate Function directly from here.
- To build functions in your database, select your project name and follow the provided steps.
- List of Functions – email, random text, number, date, #text, SSN functions, and constant value, and certificate.
Keywords
- To add keywords to this page, start by selecting the project. Then, click the plus icon, enter the keyword, select the function from the dropdown, and save. The keyword will be added to the chosen project.
- For editing a keyword, select the project name, find the action column, and click the edit icon.
- To delete a keyword, select the project name, locate the action column, and click the delete icon.
- Please note: Any columns added here will appear on the mapping page and are utilized for the Apply Keyword Search functionality.
 Obfuscation
- On this page, after choosing the project name, you'll see all the tables you've mapped on the mapping page. Make sure to select the relevant table names and columns for obfuscation. Double-check that you've selected all necessary tables before proceeding.
- If you overlook selecting any table, it won't undergo obfuscation. During the data obfuscation process, any encountered errors will be displayed in the error column. Address these errors on the server and return to initiate obfuscation again. Before commencing obfuscation, ensure to reset (Re-enable Obfuscation) to maintain accuracy.
- Note: If errors are encountered, the obfuscation process is completed only up to the point where the error occurs for a particular column.
- You have the option to reset (Re-enable Obfuscation) the obfuscation process here. Additionally, you can view the last obfuscated date for each table.
- If no errors arise, your data has been obfuscated successfully.
- To verify the status of columns and tables, you can export the data into an Excel sheet on the Mapping page. Select the project and download the Excel sheet for reference.
- If you delete any tables in your database that have already been mapped, it's crucial to remove those tables on the obfuscation page. Select the tables and click the delete button to ensure accurate synchronization.
- Note: Once data is obfuscated, it cannot be reverted to its original state. Although you can obfuscate the data multiple times, restoring the original data is not possible. To revert to the original data, you'll need to restore it from a backup in the database.
Conclusion
To conclude, the Kalpita Data Obfuscation tool is solely created to minimize data breaches. This tool’s advanced features and functionalities are designed to safeguard sensitive information from potential breaches. By exploring the comprehensive capabilities of Data Obfuscation, organizations can proactively mitigate risks, uphold data privacy, and improve their security measures in today's ever-changing technological environment.
Kalpita Technologies® is a Registered Trademark © 2026 All Rights Reserved.